
Avalanche Safety
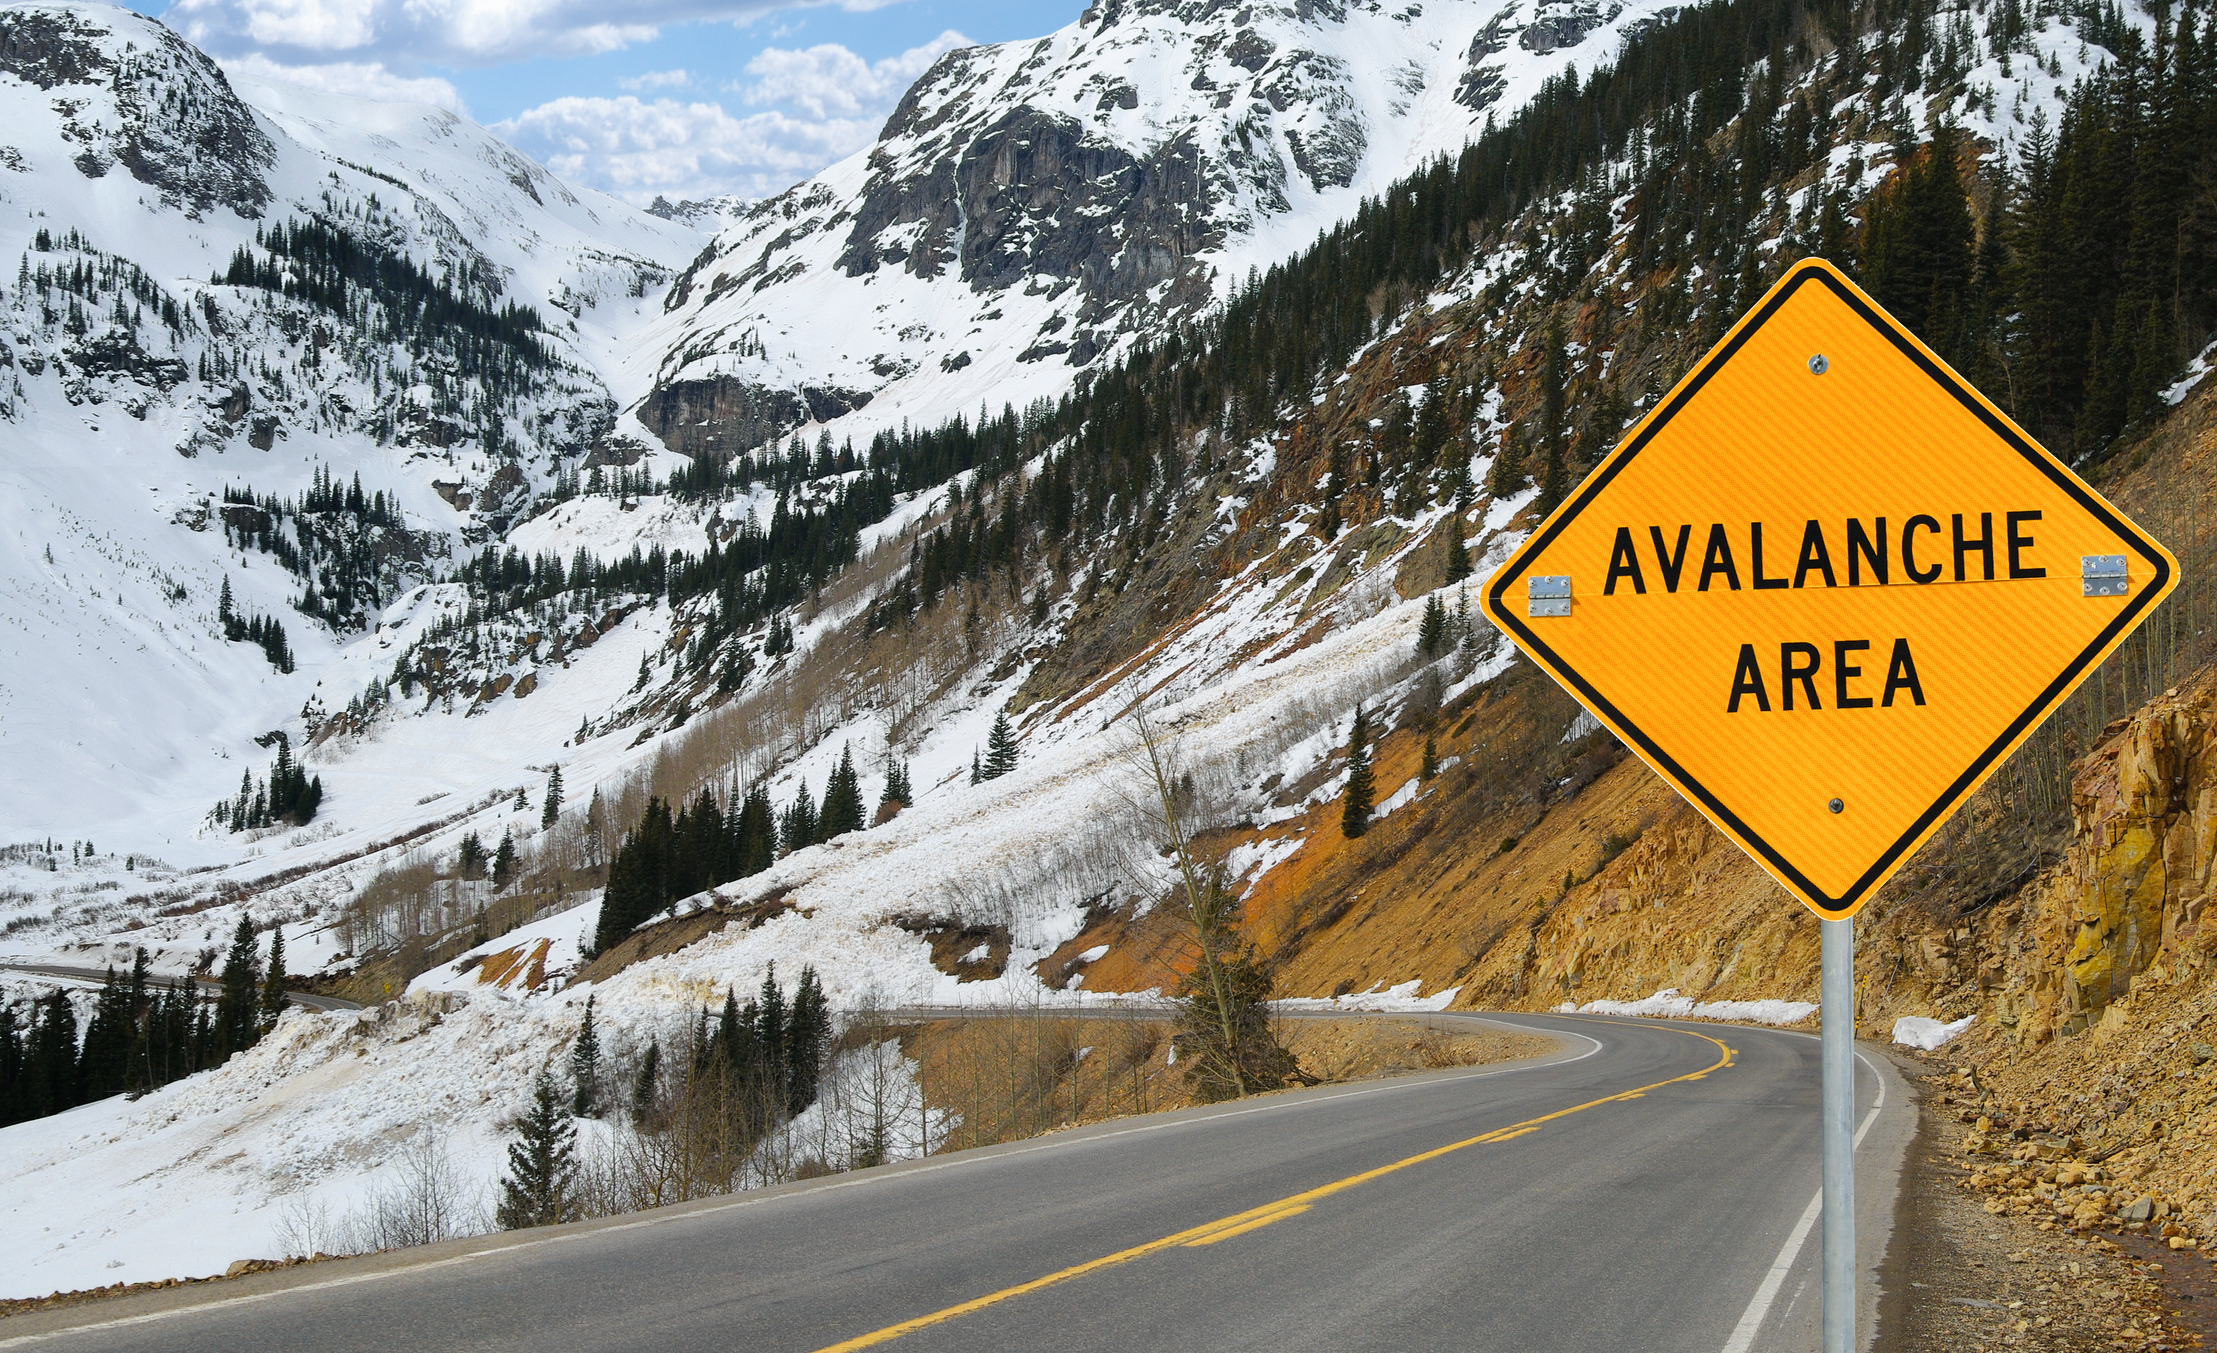
Mountains attract climbers, skiers, snowmobilers and outdoor enthusiasts hoping to conquer the slopes. Yet, this kind of recreation brings its own set of risks. Each year, avalanches claim more than 150 lives worldwide, a number that has been increasing over the past few decades. Thousands more are caught in avalanches, partly buried or injured. REMSA would like to remind individuals to be safe around snowy areas.
Avalanche gear
Avoiding avalanches in the first place is much easier than trying to survive one. Avalanche safety starts even before you begin your travel. In addition to keeping an eye out for weather and terrain conditions, there are steps you can take ahead of time to help you or other members of your party if you are caught in an avalanche.
Proper equipment can be a critical factor in rescue efforts. Avalanches kill in two ways. A victim will either endure fatal trauma (collisions with rocks or trees) during an avalanche or will suffocate after they are buried by snow. While trauma deaths occur before rescue can take place, the more common suffocation deaths are often tragic because with the proper equipment and expertise, they can be avoided.
Portable, lightweight shovels made of plastic and aluminum are compact and can be carried in a pack. Digging with a shovel, as opposed to using hands or ski poles, can dramatically decrease the time it takes to dig out a victim. Digging by hand takes an average of 45 minutes to dig out one square meter of snow. Using a shovel to dig out the same amount of snow takes less than ten minutes.
Collapsible probes or ski-pole probes are also easy to carry along. Collapsible probes usually consist of two-foot lengths of tubular steel that join together to make a probe ten to twelve feet long. Ski-pole probes are made so that grips and baskets can be removed. The two poles can then be joined together to form a probe. Probing is essential to finding a buried victim if there are no visible clues on the surface.
Avalanche beacons (transceivers) are the most commonly used rescue device and are standard equipment for ski-area patrollers and heli-ski operators. When properly used, they provide the fastest way of locating a victim. When a victim is buried, the transceiver will emit a frequency that other transceivers can home in on. However, it is critical to have the transceiver set to “transmit” during your outing. When trying to locate a buried victim, rescuers will then switch their transceivers to “receive” to locate the signal. Unfortunately, avalanche deaths have occurred due to the fact that the victims had their transceiver switched to “receive” rather than “transmit.” Consequently, rescuers could not locate them in time.
- Remember that more than one transceiver unit is required. A transceiver will not help locate a victim who is not also wearing one. Likewise, a victim with a transmitting beacon may not be found unless someone else has a transceiver to pick up that signal.
- Using beacons requires practice. Homing in on a buried signal involves moving in increasingly smaller circles around the area of the signal. When purchasing a unit, learn how to use it properly, and practice using it frequently. Make sure those in your party carrying transceivers understand how to use them.
Time is of the essence.
Carrying this equipment may mean the difference between life and death for someone buried in an avalanche. Statistics show that most survivors are dug out within 15 to 30 minutes. For victims buried longer than 30 minutes, survival chances decrease drastically. In fact, U.S. statistics show that victims buried longer than 45 minutes rarely survive. Depth of burial is also a factor in surviving, but even if a victim is near the surface, the length of time it takes to locate them and dig them out can still be the critical factor.
If you are caught in an avalanche
Yell and let go of ski poles and get out of your pack to make yourself lighter. Use “swimming” motions, thrusting upward to try to stay near the surface of the snow. When avalanches come to a stop and debris begins to pile up, the snow can set as hard as cement. Unless you are on the surface and your hands are free, it is almost impossible to dig yourself out. If you are fortunate enough to end up near the surface (or at least know which direction it is), try to stick out an arm or a leg so that rescuers can find you quickly.
If you are in over your head (not near the surface), try to maintain an air pocket in front of your face using your hands and arms, punching into the snow. When an avalanche finally stops, you will have from one to three seconds before the snow sets. Many avalanche deaths are caused by suffocation, so creating an air space is one of the most critical things you can do.
- Also, take a deep breath to expand your chest and hold it; otherwise, you may not be able to breathe after the snow sets. To preserve air space, yell or make noise only when rescuers are near you. Snow is such a good insulator they probably will not hear you until they are practically on top of you.
Above all, do not panic. Keeping your breathing steady will help preserve your air space and extend your survival chances. If you remain calm, your body will be better able to conserve energy.
Rescuing a victim
Try to watch the victim as they are carried down the slope, paying particular attention to the point you last saw them. After the avalanche appears to have finished and settled, wait a minute or two and observe the slope carefully to make sure there is no further avalanche danger. If some danger does still exist, post one member of your party in a safe location away from the avalanche path to alert you if another avalanche falls.
When traveling with a large party, you may want to send someone for help immediately while the rest of you search. If you are the only survivor, do a quick visual search. If you don’t see any visual clues, and you don’t have transceivers, then go for help.
Begin looking for clues on the surface (a hand or foot, piece of clothing, ski pole, etc.), beginning with the point where they were last seen. As you move down the slope, kick over any large chunks of snow that may reveal clues.
- Since equipment and items of clothing may be pulled away from a victim during an avalanche, they may not indicate their exact location, but can help determine the direction the avalanche carried them. Mark these spots as you come across them.
- Be sure that all rescuers leave their packs, extra clothing, etc., away from the search area so as not to clutter or confuse search efforts.
Once the victim is found, it is critical to unbury them as quickly as possible. Survival chances decrease rapidly depending on how long a victim remains buried. Treat them for any injuries, shock, or hypothermia if necessary.
If you lost sight of the victim early during the avalanche, or if there are no visible clues on the surface, mark where the victim was last seen. Look at the path of the snow and try to imagine where they might have ended up. For those wearing avalanche transceivers, switch them to “receive” and try to locate a signal.
For those using probes, begin at the point the victim was last seen at. Or if you have a good idea of where they were buried, begin in that area. Stand in a straight line across the slope, standing shoulder to shoulder. Repeatedly insert the probes as you move down slope in a line. Pay particular attention to shallow depressions in the slope and the uphill sides of rocks and trees, since these are terrain traps where they may have been buried.
- It may be necessary to probe certain areas more than once if you don’t locate the victim the first time around, but this takes more time and decreases the victim’s chances for survival. Similar to using transceivers, this method of rescue is much more effective if those involved have experience or have practiced finding buried victims using probes.
After searching for clues, or using transceivers and/or probes, still does not reveal the location of the victim, it may be time to rely on outside help. Nearby ski resorts will be staffed with personnel experienced to handle these situations. They will have equipment to locate the victims and dig them out (if your party did not bring shovels or probes), and they may also have avalanche dogs that can help find victims. Ski area patrollers will also have first aid equipment, but unfortunately, by the time they can usually reach out-of-bounds avalanche accidents, too much time has elapsed to save the victim.
Avalanche quick checks
- What have the weather conditions been over the past few days? Recent heavy snows?
- Can you observe any wind loading on the slopes?
- Do you have a good sense of the snowpack? Have you performed any snow pit or shear tests?
- Have you noticed many fracture lines, heard “whumping” or cracking sounds, or hollow noises in the snowpack?
- Are you keeping an eye on the orientation and steepness of the slopes as you cross them?
- Are you lingering in gullies, bowls, or valleys?
- Noticed any recent avalanche activity on other slopes similar to the one you are on?
- If a slope looks suspect, are there alternative routes?
Extra precautions to take
- If there is no alternative to crossing a suspect slope, do so one person at a time to minimize risk.
- When descending or ascending a slope, try to stay as far to the sides of a potential avalanche chute as possible to decrease your chances of being caught if an avalanche runs.
- Be aware of the condition of those in your party. If someone is tired, hungry, or cold they may not be using their best judgement.
- Remain constantly aware of changing weather or temperature conditions, particularly if your outing will last more than a few hours.
- Consider avalanche rescue equipment, such as beacons, ski-pole probes, and collapsible shovels, as a necessary part of your backcountry gear.
Avalanche factors: what conditions cause an avalanche?
Several factors may affect the likelihood of an avalanche, including weather, temperature, slope steepness, slope orientation (whether the slope is facing north or south), wind direction, terrain, vegetation, and general snowpack conditions. Different combinations of these factors can create low, moderate or extreme avalanche conditions.
Keep in mind that some of these conditions, such as temperature and snowpack, can change on a daily or even hourly basis. This necessitates constant vigilance of your immediate surroundings while doing any wintertime backcountry travel. The route you chose may be safe when you begin but may become dangerous if conditions change dramatically throughout the day.
Simply ask yourself, when are conditions sufficient to cause a mass of snow to slide down a slope?